

DIY curtain bangs work best when you follow three steps in order. Section your hair into a clean triangle first. Cut on the right hair state for your texture. Trim conservatively at every stage. Starting longer than you think you need is always easier to fix. Cutting too short is not.
Have you already got curtain bangs from a stylist? Do you want to keep the shape between visits? This guide is built for exactly that. You do not need a salon appointment every few weeks just for a light trim. You need the right tools. You need the right technique for your hair type. You also need a clear sense of when it’s safe to do a touch up yourself.
✔ Key Takeaways
- Section your hair into a clean triangle before you cut anything.
- Cut on dry hair for the most accurate length control. Curly hair is the one real exception.
- Always start longer than you think you need. You can trim more later. You cannot add length back.
- Cutting technique should change based on your hair type. It should not stay the same for everyone.
- A few real signs tell you when it is time to stop DIY-ing. Book a salon visit instead.
DIY Curtain Bangs
Section your hair into a triangle. Cut on dry hair for most textures. Trim a small amount at a time. This basic sequence works for nearly every hair type. Just follow it in order.
Why This Works Well as a Between Salon Visit Trim, Not a First Time Cut
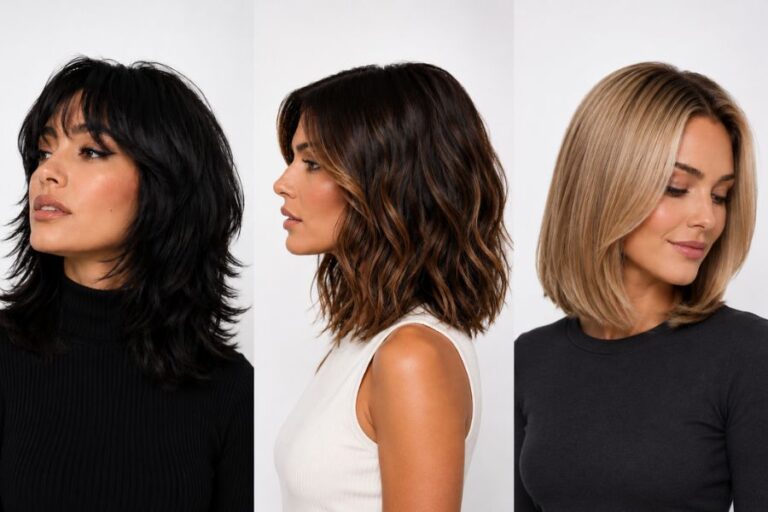
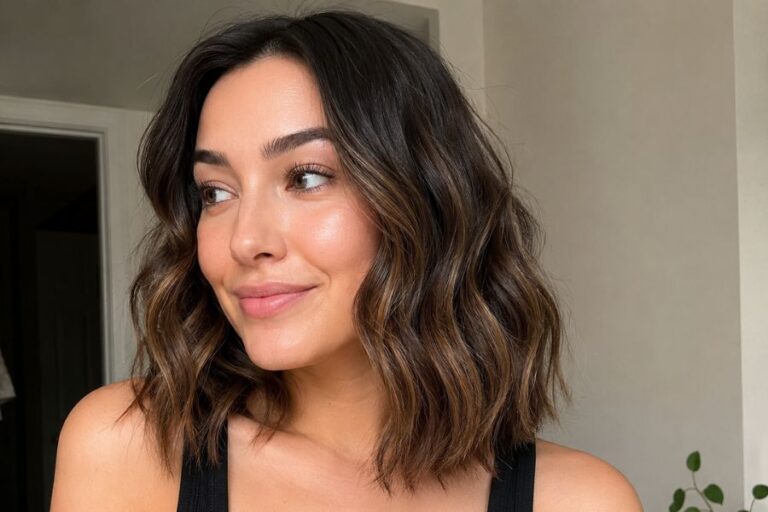
A stylist should cut your curtain bangs the first time. They can shape the length and layers around your actual face. They also work with your natural hair growth pattern. Curtain bangs pair especially well with shoulder length hair, and several cuts, like long layers, the modern shag, and the butterfly cut, work particularly well with this fringe style.
Our guide to shoulder length hairstyles for women breaks down which cuts pair best with curtain bangs, along with other options if you are still deciding on an overall shape. Once that shape exists, maintaining it yourself becomes much lower risk. You are trimming a small amount off an existing shape. You are not creating one from scratch.
Tools You Actually Need for DIY Curtain Bangs
Real hair cutting shears matter more than almost anything else here. Everyday kitchen scissors will not give you a clean cut.
Hair Cutting Shears Versus Kitchen Scissors, Why It Matters
Hair cutting shears are sharpened specifically to cut hair strands cleanly. Kitchen scissors work differently. They crush and tear hair rather than slice it. This leads to frayed, split ends right at the front of your face. That is exactly where it shows the most. A basic pair of hair shears is a small investment. It changes your results completely.
Clips and a Fine Tooth Comb for Clean Sectioning
Alligator clips hold your sectioned hair firmly out of the way while you work. A fine tooth comb creates the sharp, straight part you need for symmetry. Both tools cost very little. Together, they make a real difference in how even your final result looks.
Should You Cut on Wet, Damp or Dry Hair?
Cut on dry hair for the most accurate length control. Wet hair stretches and appears longer than it actually is. It can shrink shorter than expected once it dries.
Why Dry Cutting Gives the Most Accurate Length Control
Dry hair shows you exactly how your bangs will actually sit day to day. There is no guessing involved here. You do not need to account for how much length you will lose once your hair dries. If you have straight or wavy hair, dry cutting removes nearly all the risk. You avoid an unexpected surprise afterward.
The One Real Exception: Curly and Coily Hair
Curly and coily hair should also be cut dry. The reason is slightly different, though. Curl pattern pulls length up significantly as hair dries. Cutting on wet, stretched curls creates a real problem. You end up working with a length that will not match your actual dry result. Always cut curly hair in its natural, dry state. This lets you see the real shape you are working with.
How to Section Your Hair for a Symmetrical Cut?
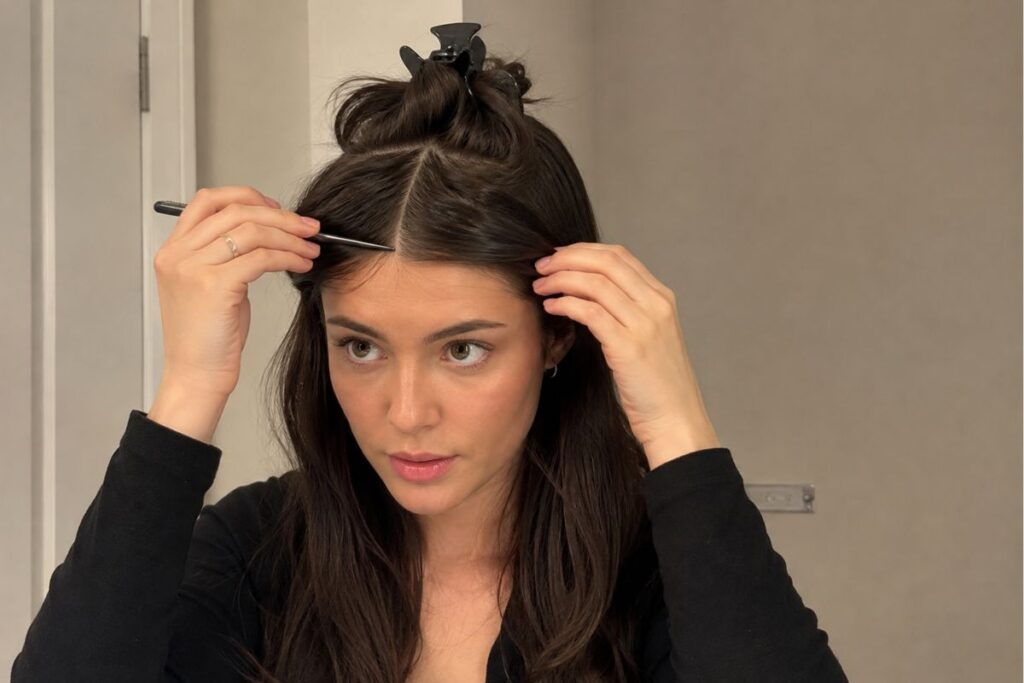
Section your hair into a triangle shape before cutting anything. This triangle contains exactly the hair that becomes your bangs.
Finding the Triangle Peak and Base
Start with a clean, straight part down the center of your head. Find the peak of your triangle just above the bridge of your nose. Draw two diagonal lines outward from that peak. End roughly at the outer corner of each eyebrow. Clip back everything outside those lines.
Checking Symmetry Before You Cut a Single Strand
Look in the mirror before you make a single cut. Compare both sides of your triangle section directly. Adjust the lines with your comb until both sides genuinely match. This one extra minute of checking prevents most uneven results. It stops problems before they even happen.
Cutting Technique by Hair Type
Your hair type changes exactly how you should approach the actual cutting step. What works for straight hair can genuinely backfire on curly hair.
Straight and Wavy Hair
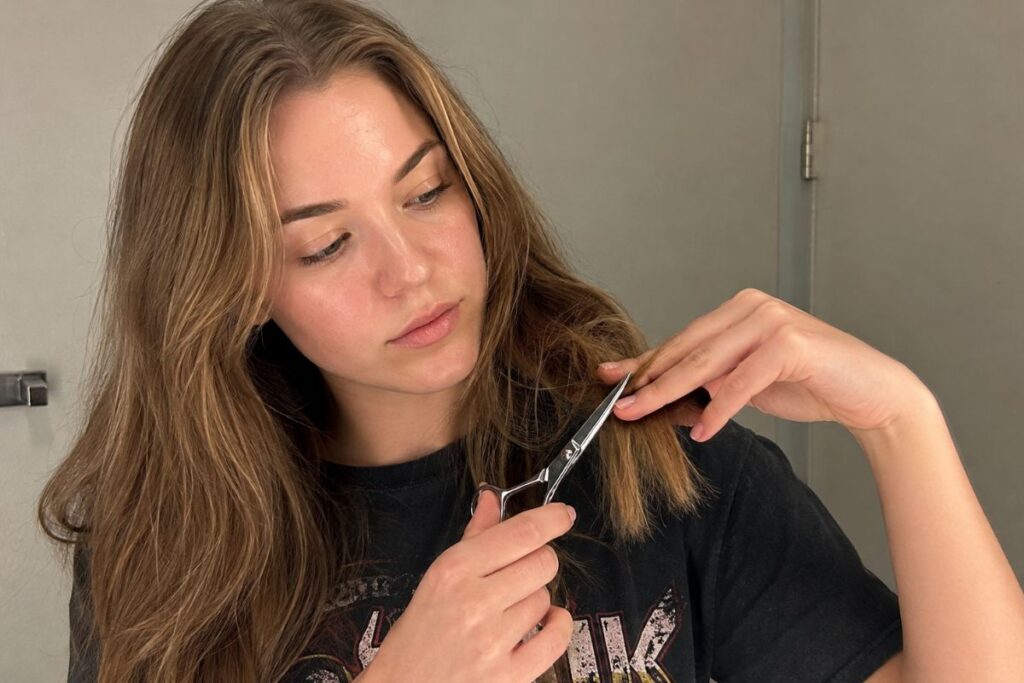
Comb your triangle section straight down and smooth. Decide on your target length. Then start slightly longer than that as a safety margin. Hold the hair at a slight angle. Use small, vertical snips rather than one straight horizontal cut. This point cutting technique softens the edge. It avoids leaving a blunt, heavy line.
Curly and Coily Hair
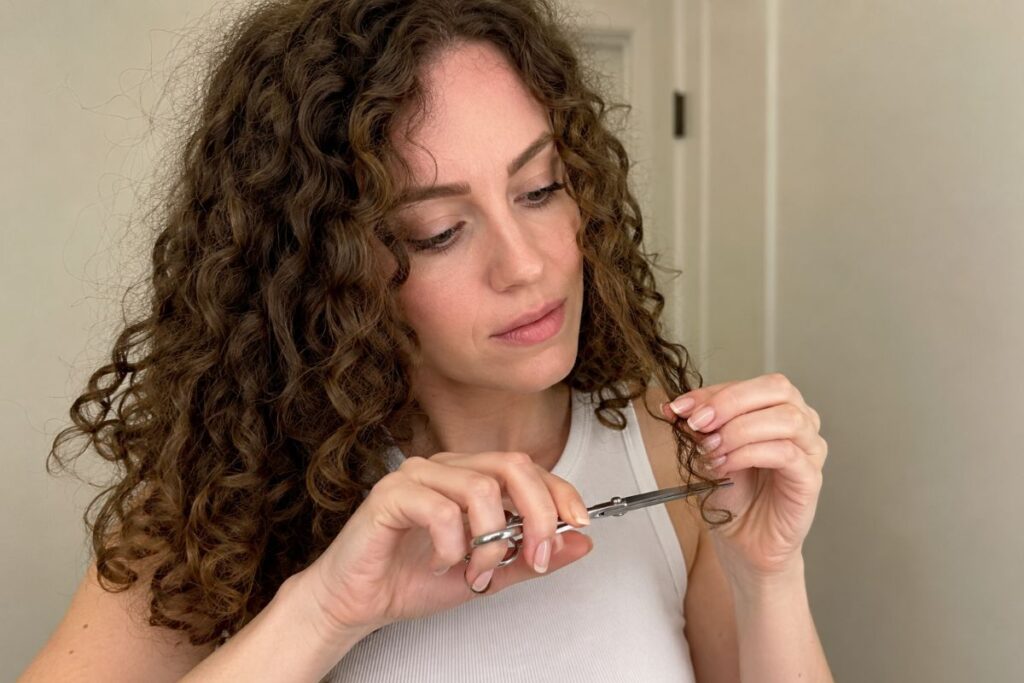
Work with your hair fully dry, in its natural curl pattern. Gently stretch each section without pulling it fully straight. Cut in small increments and check the shape as you go. The curl pattern makes it very easy to remove more than you intended with a single snip. Twisting small sections before cutting the very ends can help too. This preserves natural bounce and definition.
Fine Hair
Fine hair needs a slightly longer starting length than other textures. Less density can make bangs look sparse if cut too short. Use the same point cutting technique to avoid a flat, blunt edge. Lifting small sections slightly while cutting adds a small amount of volume. Fine hair often needs that extra lift.
Adjusting Curtain Bangs for Your Face Shape
Your face shape can change small details of your curtain bangs. This holds true even during a simple maintenance trim. It mostly comes down to where the shortest point of the bangs sits.
Round and Oval Faces
For a round face, keep your shortest point a bit longer. Aim closer to cheekbone level rather than higher up. This adds gentle length rather than width. For an oval face, try a different approach. A shorter center point tapering outward works well. Oval faces generally suit a wider range of styles already.
Heart and Square Faces
For a heart shaped face, keep your bangs on the longer side overall. Aim closer to chin length. This softens a wider forehead. For a square face, try a soft curve at the shortest point. This helps ease the effect of a stronger jawline. A sharp, blunt line does not do this as well.
Common Mistakes and How to Fix Them
A handful of mistakes account for most disappointing DIY curtain bang results. Each one has a real fix.
Cutting Too Short
This is the most common mistake. It is also the hardest to undo immediately. If this happens, a middle part can help. It softens how short the length looks. Pinning the shortest pieces back is another option. Braiding them into the rest of your hair works too. Both serve as temporary fixes while you wait for growth.
Uneven Sides
Comb both sides straight down. Compare them directly in the mirror. Use small, vertical point cuts to bring the longer side down to match. Work in tiny increments as you go. Stop and check symmetry after every single snip. Do not cut several times in a row without checking.
| Mistake | Why It Happens | The Fix | Prevention Tip |
| Cut Too Short | Cutting too much in one pass, or misjudging curl shrinkage | Style with a middle part or pin pieces back while it grows | Always start longer than your target length |
| Uneven Sides | Rushed sectioning or uneven tension while cutting | Point cut the longer side in small increments | Check symmetry in the mirror before every cut |
| Blunt, Heavy Looking Edges | Cutting straight across instead of at an angle | Point cut the existing edge to soften it | Use vertical snips, not one straight horizontal cut |
| Bangs Look Too Thin or Sparse | Starting length was too short for fine or thin hair | Let length grow out slightly before trimming again | Start with a longer safety margin on fine hair specifically |
Styling Curtain Bangs After the Cut
How you style your bangs after cutting can soften a slightly imperfect cut. Styling technique matters almost as much as the cut itself.
Blow Drying With a Round Brush
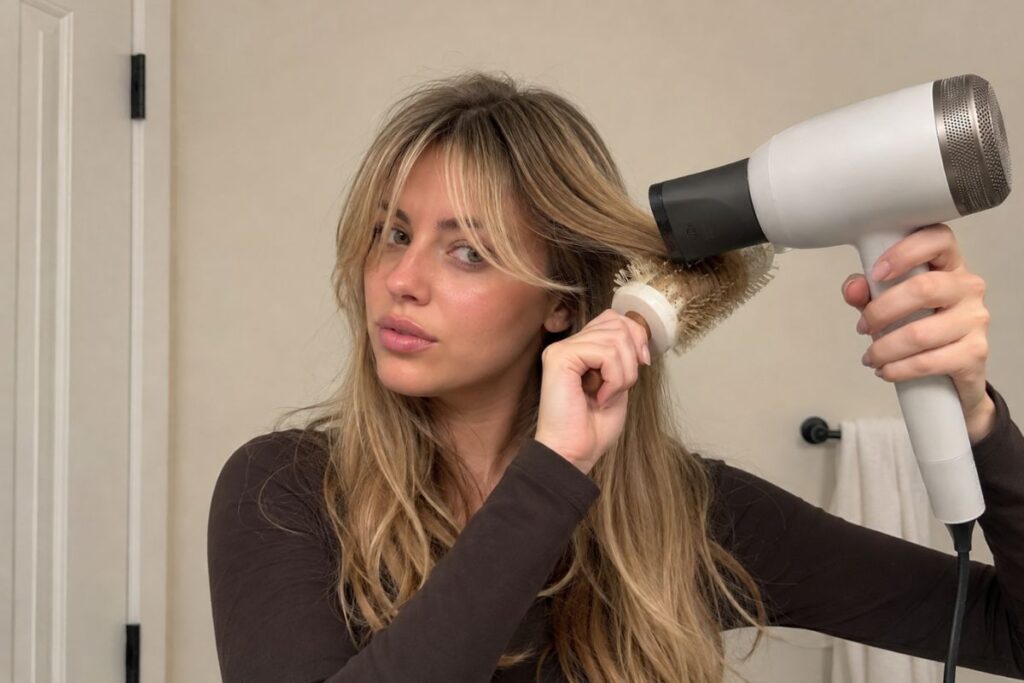
Use a round brush to lift your bangs at the roots. Guide each side outward and slightly under as you dry. Finish with a short blast of cool air. This helps the shape hold through the day.
Heat Free Styling Options
Apply a light texturizing product to damp bangs. Finger style them into place as they air dry. Soft velcro rollers work well too. They give a smoother finish without direct heat. This approach works especially well on wavy or curly hair.
Maintaining Curtain Bangs Between Trims
Curtain bangs need light upkeep to stay looking intentional. Most people find a small trim every four to six weeks keeps the shape looking fresh.
How Often a Touch Up Trim Is Actually Needed
Every four to six weeks is a reasonable general guideline. Faster hair growth may mean you need a touch up slightly sooner. Letting your bangs grow out too far causes a problem. They lose their shape and start blending into the rest of your hair.
Step by Step Touch Up Process
Step 1: Start with clean, fully dry hair. Damp hair can look deceptively longer than it actually is.
Step 2: Section your bangs into the same triangle shape as before. Clip back everything else.
Step 3: Use small, vertical point cuts to remove just a small amount of length. Focus on the outer edges.
Step 4: Step back and check symmetry in the mirror. Make only small, careful adjustments from here.
When to Stop DIY-ing and See a Professional Instead
A few clear signs mean it is time to book a salon visit instead of trimming your hair yourself again. Recognizing these early saves you from a much bigger fix later.
Signs the Shape Has Grown Out Too Far to Fix Yourself
Have your bangs grown well past your eyebrows? Have they started blending into your longer layers? A simple trim may no longer restore the original shape. This usually means the surrounding layers need to be reshaped too. That goes beyond a basic at home touch up.
Color Treated or Chemically Processed Hair: A Real Added Risk Factor
Color treated or chemically processed hair can behave differently than untreated hair. It sometimes feels more fragile. It can also cut unevenly. Have you recently colored, bleached, or chemically straightened your hair? Consider sticking to very small, cautious trims. Or let a professional handle anything beyond the lightest touch up.
Frequently Asked Questions
How short should I cut my curtain bangs?
Start longer than you think you need. Chin length is often a safe starting point. You can always trim more off later. Cutting too short cannot be undone until your hair grows back out.
Is it better to cut curtain bangs wet or dry?
Dry is generally better for accurate length control. Wet hair looks longer than it will once it dries and settles. Curly hair should also be cut dry. This lets you see its true, natural shape.
What is the easiest way to cut curtain bangs at home?
Section your hair into a clean triangle first. Then use small vertical point cuts rather than a single straight horizontal cut. Starting longer and trimming gradually makes the whole process far more forgiving for beginners.
What face shapes should avoid curtain bangs?
Curtain bangs can be adjusted to suit nearly every face shape. Small tweaks to length and angle make this possible. Very narrow or elongated face shapes may find one thing helpful. A slightly longer version often looks more flattering than a very short center point.
How often should you trim curtain bangs?
Most people find every four to six weeks works well. This applies specifically to light maintenance trim. It keeps the shape looking intentional. It also stops the bangs from growing out and blending into the rest of your hair.
Can I cut curtain bangs if I have thick or curly hair?
Yes, though the technique needs to change. Cut curly hair fully dry, in its natural pattern. Work in small increments. This accounts for how much the curl pattern pulls the length up once dry.
I tried cutting my curtain bangs at home and one side came out noticeably longer than the other. Can I actually fix this myself, or do I need to see a stylist now?
You can usually fix mild unevenness yourself. Comb both sides down and compare them directly. Use small point cuts to gradually lower the longer side. Is the difference significant, though? Stop and let a stylist correct it instead. Overcorrecting yourself can make it worse.
I have color treated hair and I am nervous about cutting my own curtain bangs since I do not want to damage anything I have already invested in at the salon. Is DIY trimming still a good idea for me?
Small, cautious touch up trims are usually fine on color-treated hair. Keep your cuts light and infrequent rather than aggressive. Does your hair feel unusually fragile or processed recently? It is worth letting a professional handle anything beyond the smallest trim.
Conclusion
DIY curtain bangs come down to a few consistent habits. Section carefully. Cut on the right hair state for your texture. Always trim less than you think you need.
Remember three things. First, dry cutting gives you the most accurate results for nearly every hair type, curly hair included. Second, technique should shift based on your specific hair texture. It should not stay identical for everyone. Third, know the signs that mean it is time to book a professional. Do not push another DIY trim past that point.



4 Comments